Export Budgets from Excel to Sage 100
If you maintain budgets in Excel, you may import those worksheets into Sage 100. To do this, you will utilize the General Ledger Exchange tool found in the GL Utilities folder. However, we will first start in Excel.

What to Do in Excel
Set up your Excel worksheet file with the column layout format in this screenshot (Image 1). It is very important to place each column exactly as shown below, using the same column names. Otherwise the import process will fail.
If you do not know the account type or account group, it’s ok to leave those columns blank. However, these columns must be included in the layout.

Image 1
***PLEASE NOTE***
This process will override (without warning) any existing budget data you have for the Budget Code and Fiscal Year utilized in the layout.
In Sage 100
To set up the import job, in the Sage 100 General Ledger module, go to the Utilities folder and select “General Ledger Exchange” (Image 2).
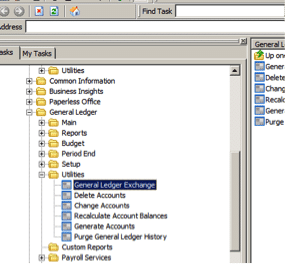
Image 2
If you have not used GL Exchange utility before, the General Ledger Exchange Settings Wizard will be appear (Image 3). If this applies to you, click “Next.” This will begin the process of preparing your import job.
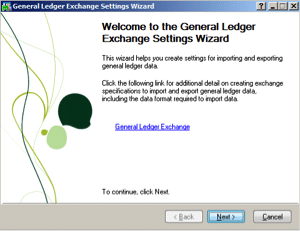
Image 3
At this point, any existing jobs will be listed in the General Ledger Exchange window (Image 4). To set up a new job, you will need to access the General Ledger Exchange Settings Wizard. To do so, click “New Exchange Setting.”
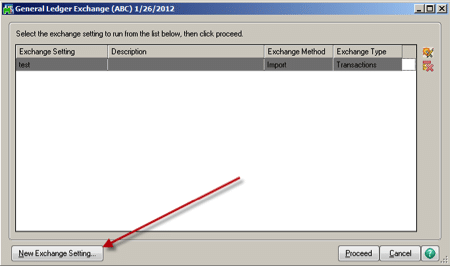
Image 4
When the “Create New Exchange Settings” window appears (Image 5), choose “Import Data” and click “Next.”
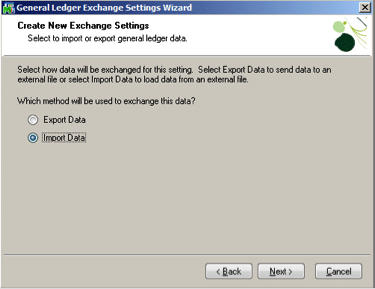
Image 5
In the “Create New Exchange Import Settings” window (Image 6), you will be asked, “What type of data do you want to import?” Using the drop-down menu, choose “Budgets and Activity.”
Click “Next.”
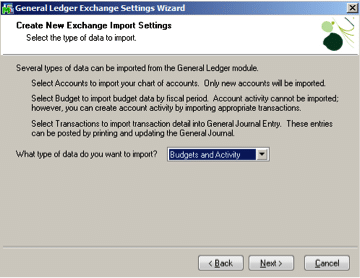
Image 6
In the “Specify an Exchange Name” window (Image 7), enter a name to identify the import job. You may also add a description if additional details will help you or your team find the report.
Click “Next.”
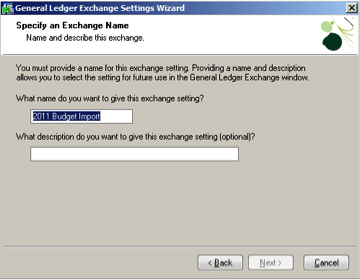
Image 7
In the “Define Budget Import Options” window (Image 8), choose the code for the Budget you will import. Also, select the corresponding fiscal year.
Click “Next.”

Image 8
In the “Define Additional Options for Accounts and Budgets” window (Image 9), choose when to include expired accounts from the drop-down menu. If not needed, select “Never.”
Click ‘‘Next.”
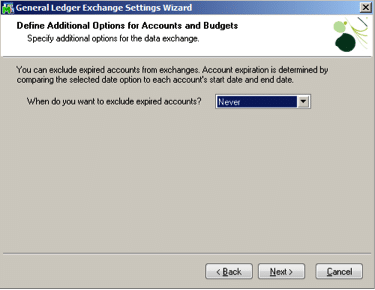
Image 9
In the “Select Accounts to Exchange” window (Image 10), choose which accounts to include. This grid allows you to limit the accounts to import. However, we recommend that you leave all the fields as “All.” Let your import job dictate which accounts to import.
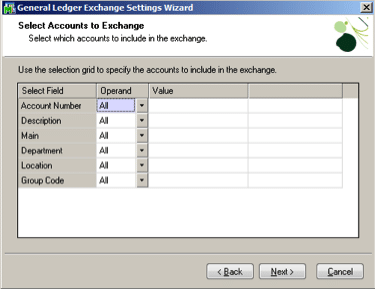
Image 10
In the “Define Exchange File Type and Name” window (Image 11), choose the file type (format) from the drop-down menu. Supported types are ASCII, CSV, Excel, and XML. We recommend sticking with Excel.
In this window, you will also enter the path of the place you’d like to import your file.
Click “Next.”
NOTE: It is best to save the file to be imported on your local directory as opposed to a network or named path. Otherwise, the file may not be recognized, especially if you switch to a different computer. Be aware, though, that some networks require a UNC path in this field.
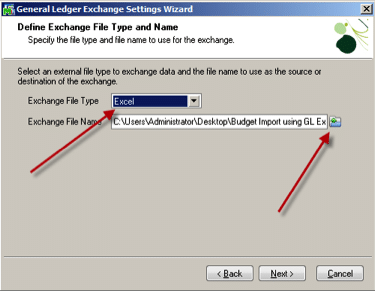
Image 11
In the “Select Exchange File Format” window (Image 12), choose the file format for your import. When working with budgets, we find the Standard Format to be the easiest option.
Click “Next.”
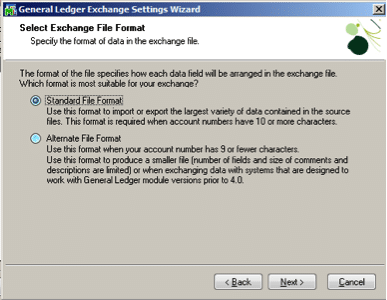
Image 12
Here, you may save your import job (Image 13).
Click “Finish.”

Image 13
Your job will now be displayed in the General Ledger Exchange window (Image 14).
To execute your job, highlight its name.
Click “Proceed.”
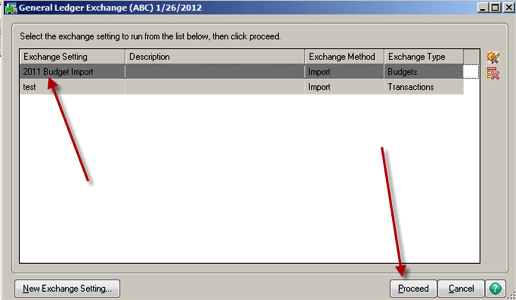
Image 14
If you are running a job that has already been established and you need to change the path to your import file, select the “Modify Setting” button indicated by the arrow (Image 15). Proceed through the wizard as described in the steps above until you reach the “Select Exchange File Format” window (Image 12). Here you may change the path, and finish the remaining steps to close the wizard.
Click “Proceed.” (Image 15).
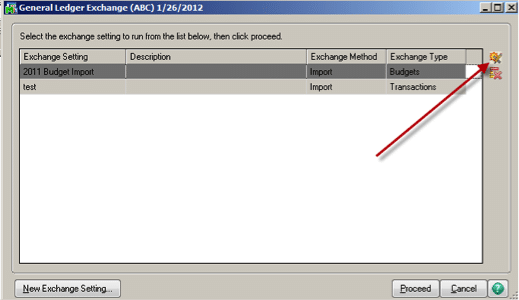
Image 15
You will be asked if you want to test the exchange prior to importing (Image 16). It is always a good idea to test your import to verify that it will be successful.
Click “Yes.”
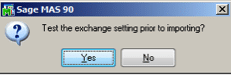
Image 16
Next, you will see a confirmation of the results of your test import (Image 17). Based upon the import file format, the header line may not import. This is perfectly acceptable, as all other records should be validated
You may view the import log to verify the records that were not validated In response to the following prompt (Image 17), click “Yes.” You can print or preview the log.
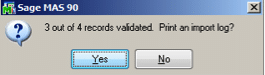
Image 17
This is the “GL Exchange Budget Import Log” (Image 18). In this example, we highlighted the section displaying the header record that was not validated. Again, this is acceptable.
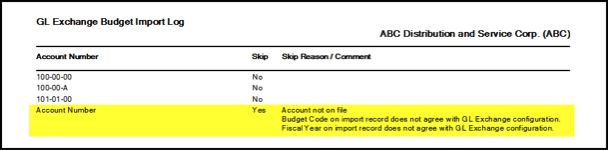
Image 18
If you were in preview mode, after you close the “Import Log” (Image 18), or, if you clicked “No” when given the option to print the log, you will see a prompt asking if you want to continue with your import (Image 19).
To close down the job and exit the GL Exchange, click “No.”
If you are ready to import, click “Yes.”
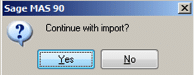
Image 19
Now, you will see a similar verification notice as before (Image 20). In response to the question, printing the log is not necessary unless you notice something odd and would like to review the files.
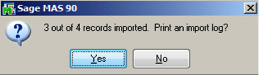
Image 20
The budget import job is now finished! To verify that your budget looks complete, print the Budget Report (Image 21).
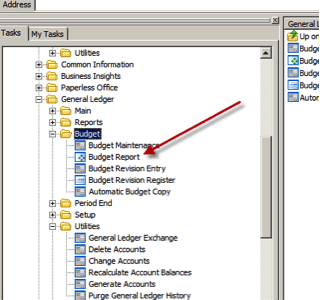
Image 21
Remember that a new budget can be imported over existing budgets without warning. Be careful that you do not override/erase existing budget data.
Read more about using Excel with Sage 100:
Export Grids from Sage 100 to Excel
To learn more about how to use Sage 100 for your business or to discuss upgrade options, please contact a MicroAccounting representative. We look forward to talking with you.